The camera I use most often is a Bonica Snapper HDDV 1080. It took me a while to come to terms with the camera (keeping it steady) but the camera is amazing and the picture quality is exceptional.

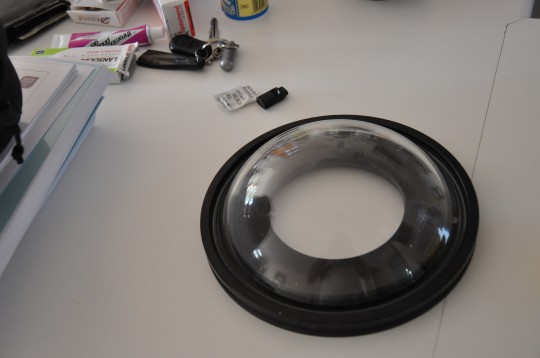
I have long been a fan of over/under or split shots but have had very little success with any of the cameras I have owned. This has been due to the lack of a dome port. I decided I would fit a dome port to the Bonica using one that I had purchased some years ago but never got to use due to the theft of the housing it was purchased for.

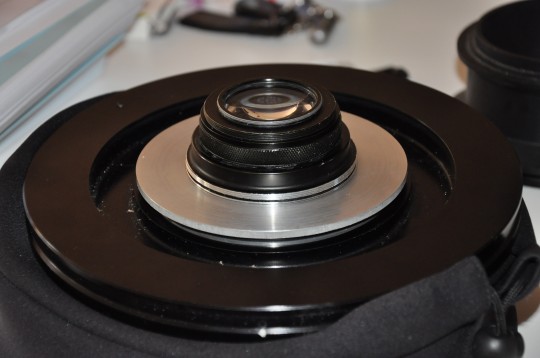
Using the Bonica wide angle lens I had the outer edge of the lens machined with a thread.


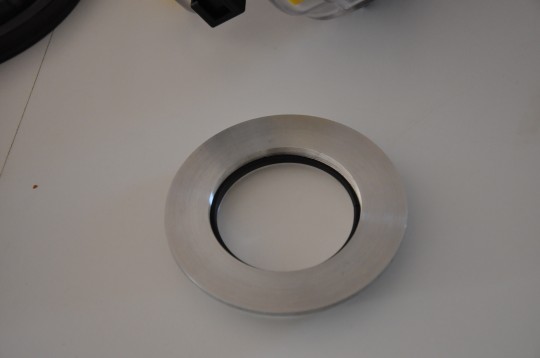
I then had the mounting tube for the dome port removed (it screws out) and had a boss turned with the same outer thread as the dome port mounting tube on the outside and the inside was machined with a thread matching the one on the outside of the wide angle lens.

The machining was done by Brian Murray, a regular at False Bay Underwater Club who is brilliant at precision tasks like this one (although I had to beg him to do it – he doesn’t like working on camera gear)!

The wide angle lens now screws into the adaptor which in turn screws into the dome port. Each step is sealed with a O ring to keep the water out.

Due to the weight of the dome port I decided on a small support bracket underneath as I was concerned the dome port, if bumped, could snap off the nose of the housing. The support screws into the same mounting hole for the video light arm.

Ready for testing!


Nice photos !
thank you